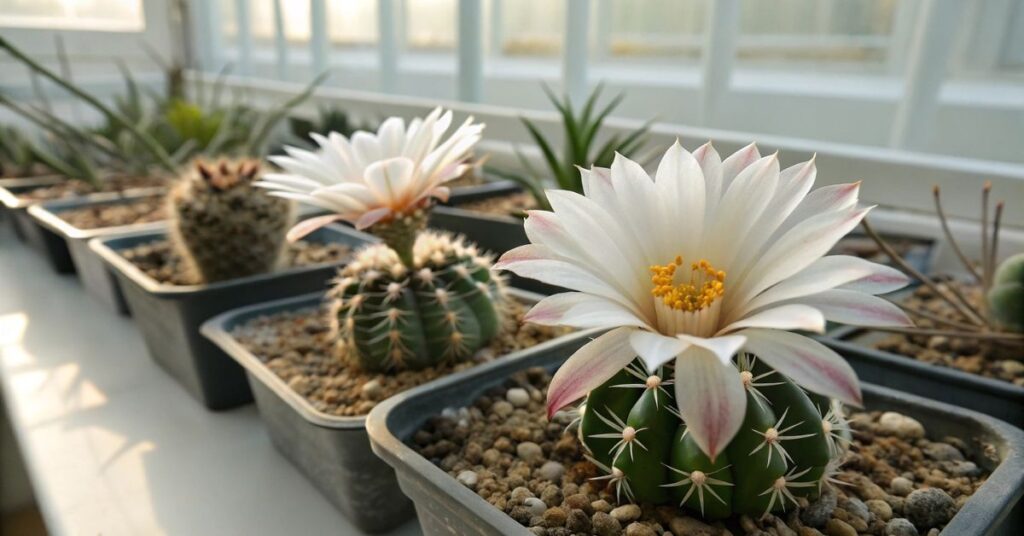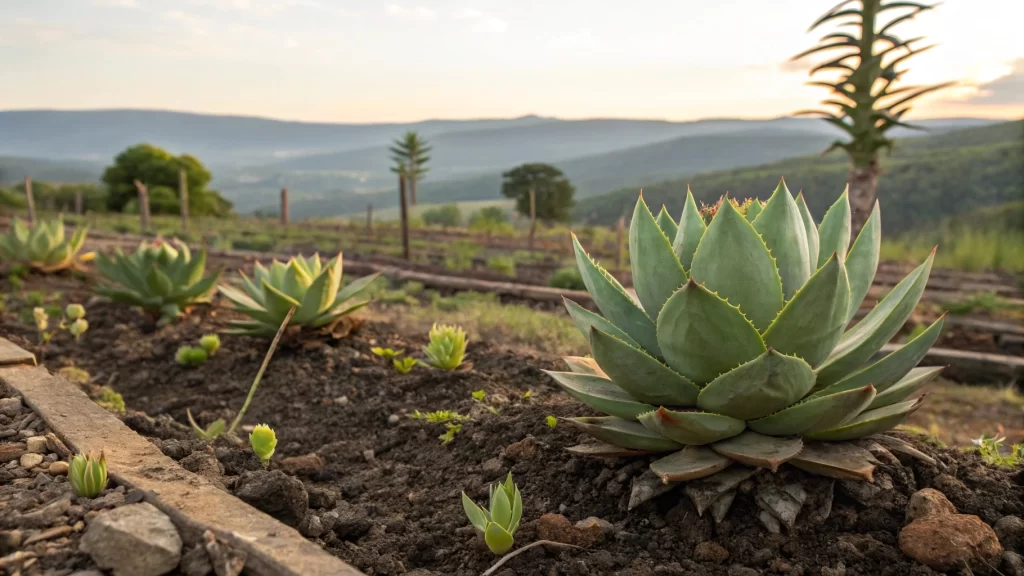
If you’re wondering “Can Ariocarpus seeds be sowed in winter indoors?”, the answer is a resounding yes! While most gardeners are hanging up their tools for winter, some of us are just getting started with one of the most fascinating projects: sowing Ariocarpus seeds indoors during the cold months. I’ve been cultivating these “living rocks” for years, and winter indoor seed starting has become my favorite gardening adventure.
Can Ariocarpus Seeds Be Sowed in Winter Indoors? Understanding the Basics
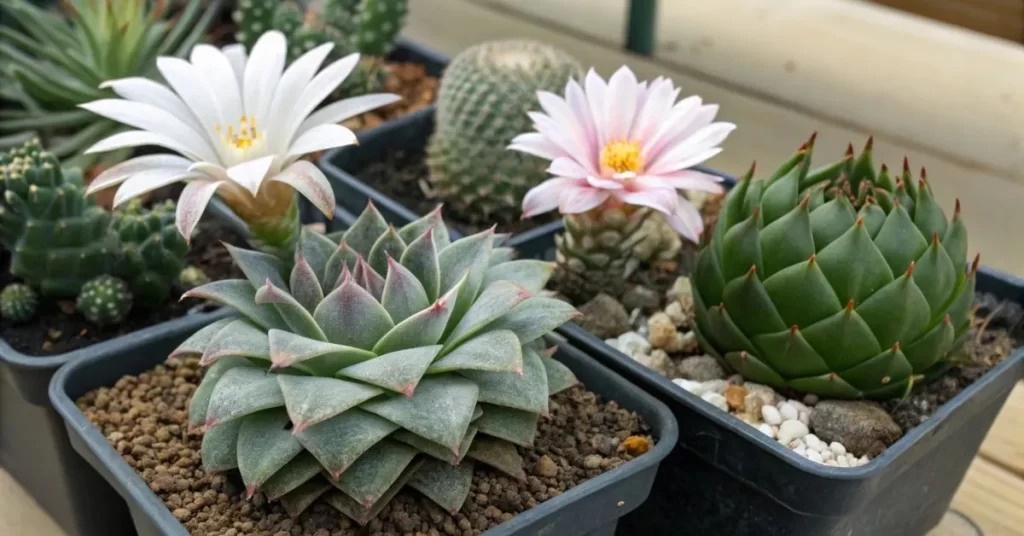
Before we dive into the specifics of how Ariocarpus seeds can be sowed in winter indoors, let’s get to know these remarkable plants. Ariocarpus, often called living rocks or stone plants, are slow-growing succulents native to Mexico and Texas. They’re like the tortoises of the cactus world – slow and steady, but worth the wait.
Why Sow Ariocarpus Seeds in Winter Indoors?
Many people ask if Ariocarpus seeds can be sowed in winter indoors, and the indoor winter environment provides ideal conditions for germination. The controlled setting allows you to maintain perfect temperature and humidity levels, which are crucial for success.
Winter Indoor Seed Starting: The Basics
Temperature Requirements
Here’s the million-dollar question: What temperature do Ariocarpus seeds need to germinate? From my experience (and countless temperature probe readings), the sweet spot lies between 70-80°F (21-27°C). This might sound tricky to maintain in winter, but here’s where indoor growing becomes our secret weapon.
Optimal Growing Conditions
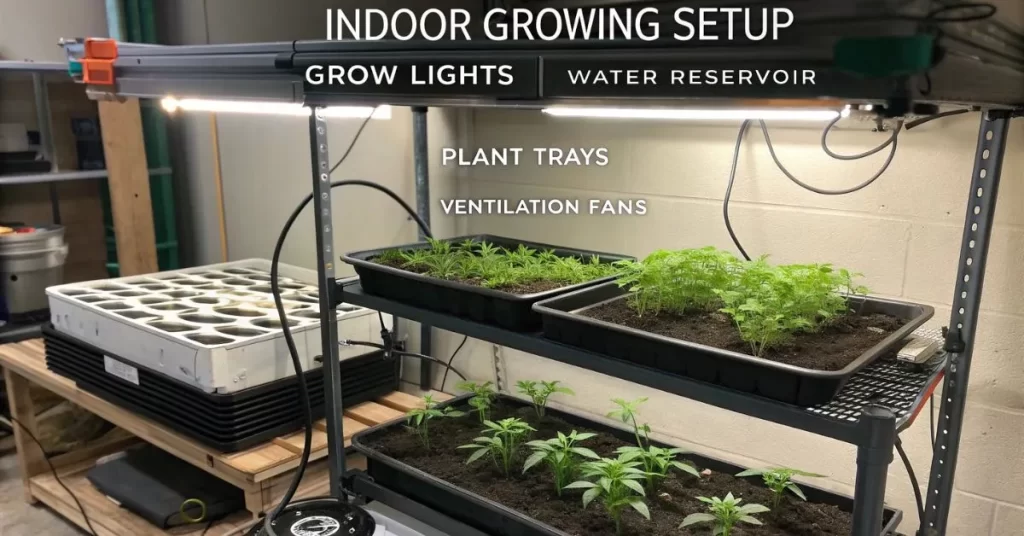
Your winter indoor setup needs three key elements:
- Consistent warmth (remember our temperature range?)
- Controlled humidity (around 60-70%)
- Bright, indirect light
Essential Equipment
Let’s talk about your shopping list (don’t worry, it’s not as scary as you might think):
- Heat mat with thermostat
- Clear plastic cover or propagator
- LED grow lights or bright windowsill
- Fine, well-draining growing medium
- Small pots or seed trays
- Spray bottle for misting
Step-by-Step Winter Sowing Guide
Seed Preparation
First things first – let’s prep those seeds. Here’s my tried-and-true method:
- Soak seeds in warm water (around 90°F/32°C) for 24 hours
- Remove any floating seeds (they’re likely not viable)
- Pat dry gently with a paper towel
Growing Medium Selection
Your growing medium needs to be:
- Well-draining
- Sterile
- Fine-textured
I use a mix of:
- 50% fine pumice or perlite
- 30% cactus soil
- 20% fine sand
The Planting Process
- Fill containers with growing medium, leaving 1/2 inch at the top
- Moisten the medium thoroughly
- Spread seeds evenly on the surface
- Cover very lightly with fine sand
- Place in propagator under lights
![Can Ariocarpus Seeds Be Sowed in Winter Indoors? A Complete Guide Image showing seed sowing process step by step]](https://indoorgem.com/wp-content/uploads/2025/01/image-showing-seed-sowing-process-step-by-step-1024x536.webp)
Watering Guidelines
This is where most beginners stumble (trust me, I’ve been there). Water management is crucial:
- Bottom water initially to avoid disturbing seeds
- Maintain consistent moisture during germination
- Gradually reduce moisture as seedlings develop
- Never let water collect on leaves
Common Challenges and Solutions
Temperature Control
Problem: Fluctuating temperatures Solution: Use a thermostat-controlled heat mat and keep away from drafty windows
Light Management
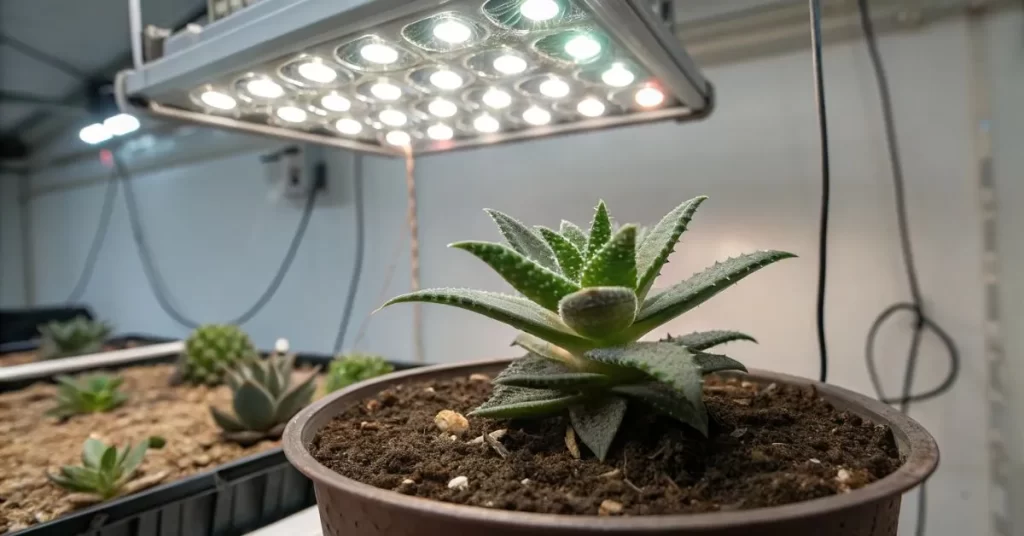
Problem: Insufficient light during short winter days Solution: Supplement with LED grow lights for 14-16 hours daily
Moisture Balance
Problem: Over/under watering Solution: Use a moisture meter and clear container to monitor moisture levels
Caring for Seedlings Through Winter
Growth Timeline
Let me set realistic expectations – Ariocarpus are notorious slow-growers:
- Week 1-2: Seeds germinate
- Week 3-4: First true spines appear
- Month 2-3: Seedlings develop characteristic shape
- Year 1: Plants reach ~1/4 inch diameter
Environmental Adjustments
As your seedlings grow, you’ll need to adjust their care:
- Gradually reduce humidity
- Increase air circulation
- Slowly introduce stronger light
- Begin fertilizing (very weakly) after 6 months
Troubleshooting Tips
Watch out for these common issues:
- Damping off (prevent with good air circulation)
- Algae growth (reduce moisture and increase airflow)
- Slow growth (normal, but ensure adequate light and temperature)
Conclusion
Growing Ariocarpus from seeds indoors during winter isn’t just possible – it’s ideal! The controlled environment helps maintain perfect conditions for germination and early growth. Sure, it requires patience (lots of it), but there’s something magical about nurturing these living stones from seed to specimen.
Remember, every experienced grower started somewhere. My first batch of seedlings wasn’t perfect, but each season brings new lessons and better results. Why not start your Ariocarpus journey this winter?
Have you tried growing Ariocarpus or other cacti from seeds? Share your experiences in the comments below!
